October 06, 2026


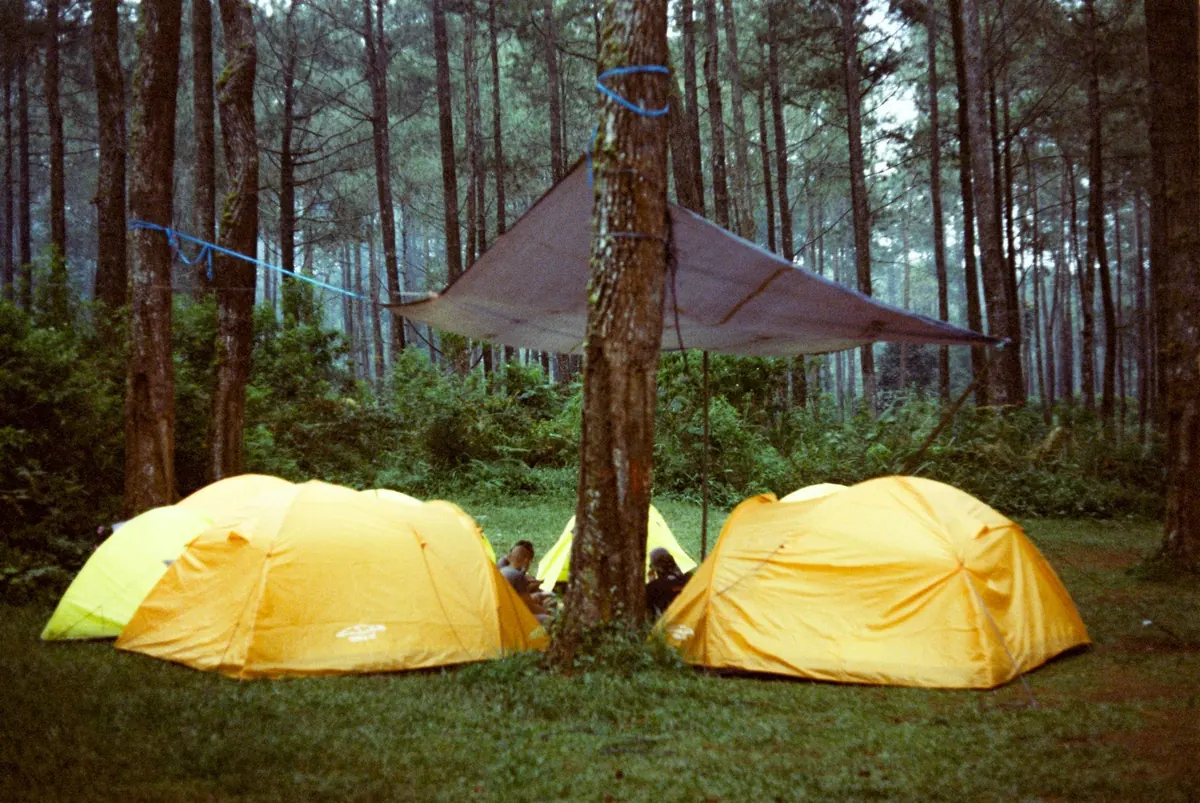
Rain doesn't negotiate. When the sky darkens and you're still a mile from the trailhead, the difference between a miserable night and a manageable one usually comes down to a tarp and fifteen minutes of deliberate work. A tarp is the most versatile shelter you can carry: light, inexpensive, and fast. Here's how to choose a site, tie two knots that actually hold, and pitch a simple A-frame before the first drops land.
Shelter building starts before you touch a rope. Two minutes of site selection saves you twenty minutes of wrestling with a bad pitch, and it keeps you safer while you sleep.
You don't need a knot library. Two knots cover almost every tarp pitch, and both work with cold, wet hands once you've practiced them a dozen times.
This is your adjustable knot, and it's the one you'll use most. Wrap the cord around the tree or stake, then bring the working end around the standing line twice inside the loop, and once more outside the loop, tucking the end through. Snug it down. You can now slide the knot to tighten the tarp without retying anything. That adjustability matters when rain stretches the cord or wind loosens a corner at 2 a.m.
For fixed loops that won't jam, a bowline is the classic: a small loop, the working end up through it, around the standing line, and back down. If you can't recall the bowline, two half hitches around a tree or a stake will hold fine for a night. Neither knot needs to be perfect. It needs to be tight.
Practice on a fence post or stair rail at home. Wet cord behaves differently than dry cord, and gloves change everything.
Tie your cord between two trees at roughly chest height and pull it snug. This line carries the weight of the tarp and sets the shape of everything above you. Too low and you'll spend the night hunched; too high and the tarp becomes a sail in any breeze. Waist to chest height is the sweet spot for a sitting-height shelter.
If there are no trees, improvise. Two trekking poles, a pair of paddles strapped together, a bicycle held upright, or a boulder with a cord wrapped around it all work. You can also stake one end to the ground and run the other to a single tree, turning the ridge into a diagonal lean-to.
If your tarp has no grommets, or they've torn out, use the pebble trick: push a smooth stone or a pinecone into the fabric from the inside, gather the fabric behind it, and tie your cord around the bundle. It holds surprisingly well and leaves no damage. Keep the tarp edges off your face and gear — a taut roof stays dry, a sagging one drips on you all night.
Wind is the enemy of a tarp. Lower the whole pitch, angle the closed end into the breeze, and seal gaps along the bottom with your pack, dry duff, or snow. A tarp that flogs itself apart in a gust is usually just too loose.
For rain, choose a site that already drains rather than digging trenches, which damages ground and rarely works as well as a better location. In humid conditions, leave a small gap at the top of the windward wall for ventilation; condensation, not leaks, soaks most sleepers.
Cold is a ground problem more than a roof problem. Insulate underneath with a foam pad, dry leaves, or spruce boughs, and keep your gear off bare earth. In snow, pitch steeper sides so the load slides off instead of sagging onto you.
Pitch it once in good weather, then again in the rain, and time yourself. The goal is a solid shelter in under fifteen minutes with gloves on and light fading. That's how muscle memory forms — not on the night you need it, but on the afternoon you don't. Know the limits, too: a tarp is a fast, light shelter for moderate conditions. In a severe storm or a genuine emergency, head for a vehicle, a building, or a hardened campsite instead of trying to out-build the weather.
When you break camp, pull your stakes, shake out the cord, and scatter any boughs or leaves you gathered. The next person to walk that ground should never know you slept there.
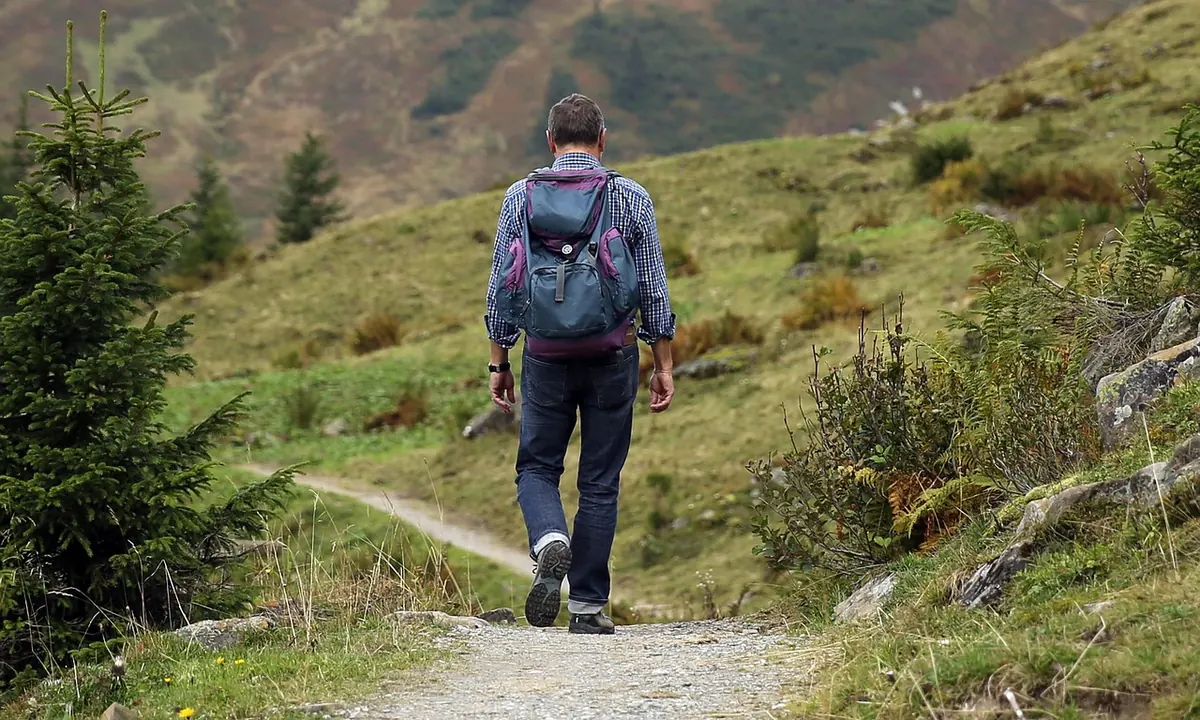
Photo: Yudha Aprilian / Pexels
A guiding light for outdoor adventures..
Copyright © 2026 Briar Beacon. All rights reserved. Briar Beacon.