
October 06, 2026


Most lost hikers do not set out to get lost. They set out with a map, a rough plan, and reasonable confidence. Somewhere on the climb a contour line gets read backward, or a junction gets counted wrong, and the gap between the map in their hand and the ground under their boots quietly opens up. By the time the gap is obvious, they are a mile up the wrong drainage with fading light.
None of the mistakes below are exotic. They are the ordinary ones: contour lines treated as decoration, scale assumed rather than measured, junctions passed without a second look. The fix is not better gear. It is a few habits, repeated until they run on their own.
Contour lines are the most useful thing on a topographic map and the most commonly skimmed. Each line connects points of equal elevation, and the interval between them is printed in the legend: forty feet, ten meters, whatever the mapmaker chose. Two habits prevent most errors.
First, count. Cross six contour lines on a 40-foot interval and you are climbing 240 feet, not "a little bump." Second, stop staring at the lines and look at the shapes they make. Water runs downhill, so a contour forming a V that points uphill is a stream or gully. A contour that bends into a U pointing downhill is a ridge or spur. Get those two reversed and every drainage on the map flips.
Index contours, the heavier labeled lines, give you a reference point. Find one, trace outward toward your position, and add up the lines between. Widely spaced contours mean gentle ground; bunched lines mean a slope you will feel in your calves. When the spacing changes abruptly, expect a steep step, a cliff band, or a trail that suddenly starts switchbacking.
Scale is where confidence quietly outruns reality. On a 1:24,000 map, one inch covers 2,000 feet of ground — a distance that looks trivial on paper and eats a real chunk of an afternoon. A 1:50,000 map makes everything look closer together while covering the same ground. Mixing the two on one trip, or switching between paper and a phone screen, is a reliable way to misjudge the day.
Do not eyeball it. Lay the edge of a piece of paper or a length of cord along the route, mark the turns with a pencil, then hold that against the scale bar in the legend. That gives straight-line distance. Add something for reality, because trails wander and switchback around obstacles, and every contour you cross costs time. A common rule of thumb on group hikes is to allow roughly an extra hour for every 300 meters of climbing, and more with a heavy pack or soft ground.
On a phone, pinch-zooming hides the scale entirely. Zoom out to plan, zoom in to walk.
Junctions are where trips go wrong, because they are where you make an irreversible choice in a hurry. The most established-looking trail is not always the one on your map. It might be an old logging road, a bike route, or a social path worn by people who made the same mistake you are about to make.
Stop at every junction, even the obvious ones, and run this check:
Watch for junctions the map treats as one and the ground treats as two, twenty meters apart. If your trail count is off by one, stop and work out why before moving.
Terrain features repeat, and they blur together when you are tired. A reentrant, the shallow draw running down a slope, can look like a rounded bump on a coarse map or a low-zoom screen. A ridge line can look like a drainage. Saddles, the low points between two summits, get mistaken for passes constantly, especially where the map shows three bumps close together.
Terrain association is the cure. Every few minutes, look up from the map, pick two features you can actually see, and match them to the map. Walk a hundred meters and do it again. Build that habit and a wrong turn becomes obvious in minutes instead of hours.
Two cautions. Vegetation shading on an older map may show forest that burned or was logged years ago, so the green patch you are counting on could be a clearcut. And relief shading on digital maps looks convincing at low zoom while hiding small drainages; zoom in before you commit to a line.
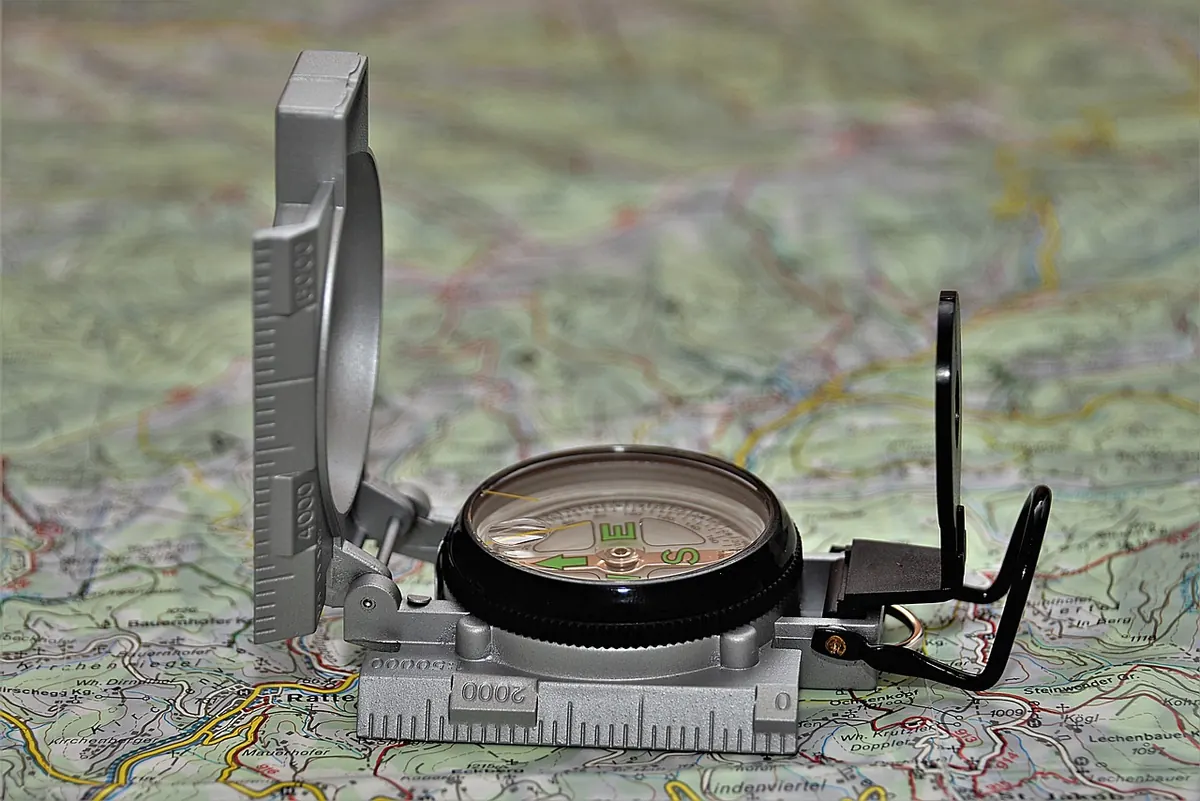
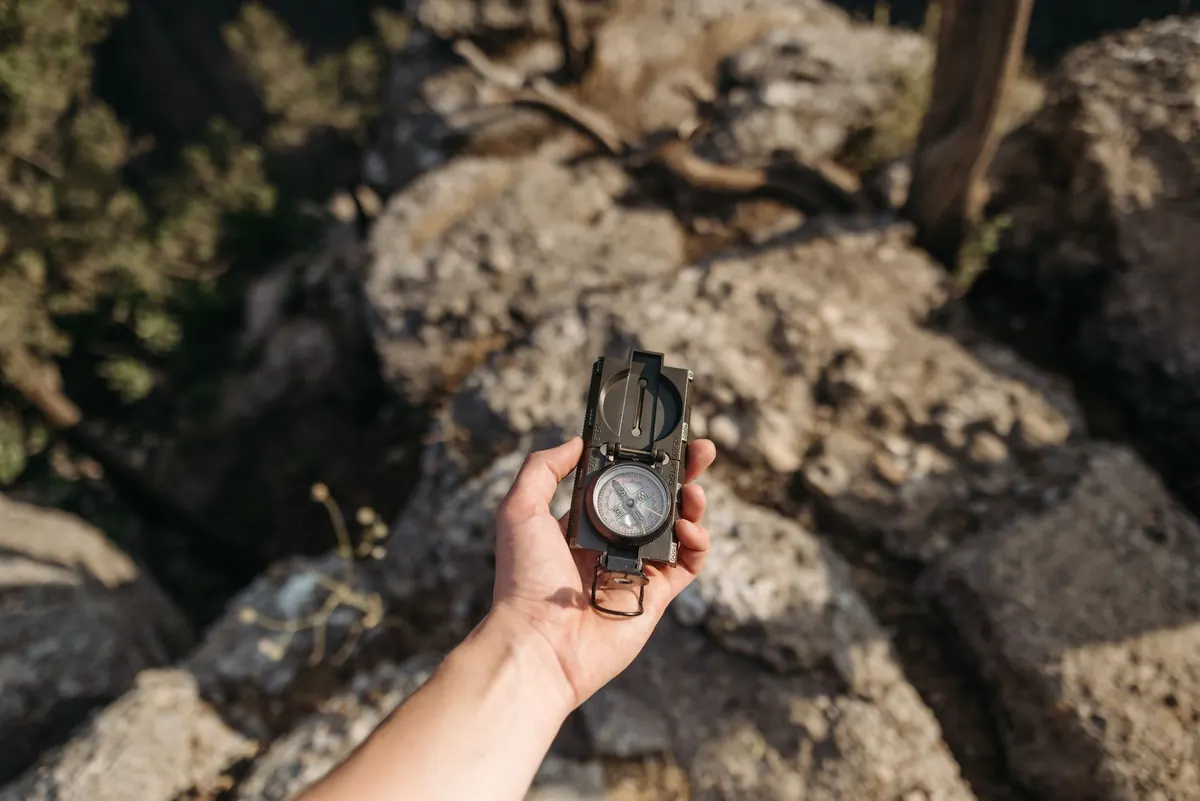
Compasses do not point at the north pole, and maps are not drawn to magnetic north. The difference, declination, is printed in the map margin along with an annual change. Take a bearing off the map without adjusting for it, or keep an old setting after a map revision, and every heading you follow is off by degrees you never accounted for.
Simplify it: draw the corrected north arrow on your map in pencil and use that one. Never take a bearing next to a car, a fence, a steel trekking pole, or a phone. And when a phone compass disagrees with your map and your eyes, trust the map and your eyes.
The slow version of getting lost is not a wrong turn. It is losing track. You stop checking, assume you are further along than you are, and start walking on memory instead of evidence. Time and distance are the two things you can measure honestly, so note the time at each junction and each named feature and compare your pace to the map. If the map says forty minutes and it has taken ninety, something is wrong: the wrong trail, a slower pace, or a distance you misjudged.
None of this needs expensive gear. It needs a routine, practiced on easy days so it holds up on hard ones.
Leave your plan with someone reliable, and follow the guidance of local rescue and land management groups for the area you are hiking. A map is a conversation between paper and ground. The hikers who stay found are simply the ones who keep talking.
Photo: Pixabay / Pixabay
A guiding light for outdoor adventures..
Copyright © 2026 Briar Beacon. All rights reserved. Briar Beacon.