
October 06, 2026


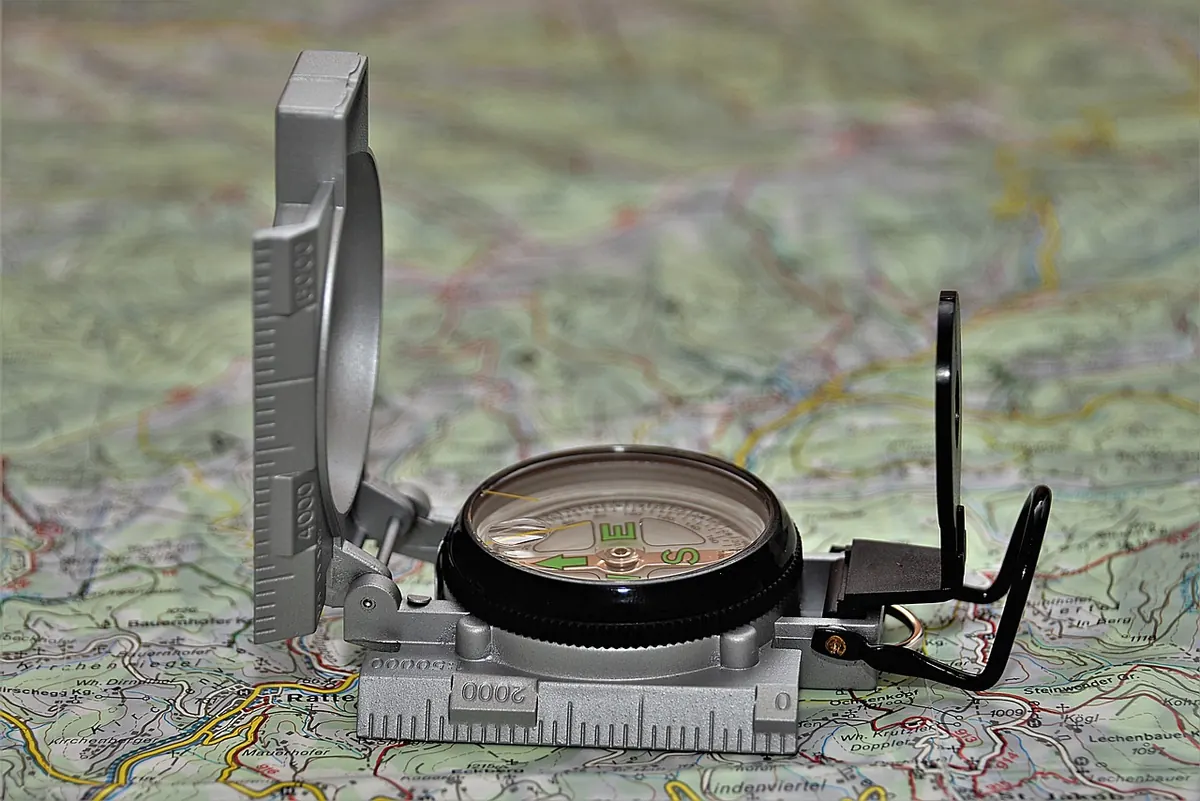
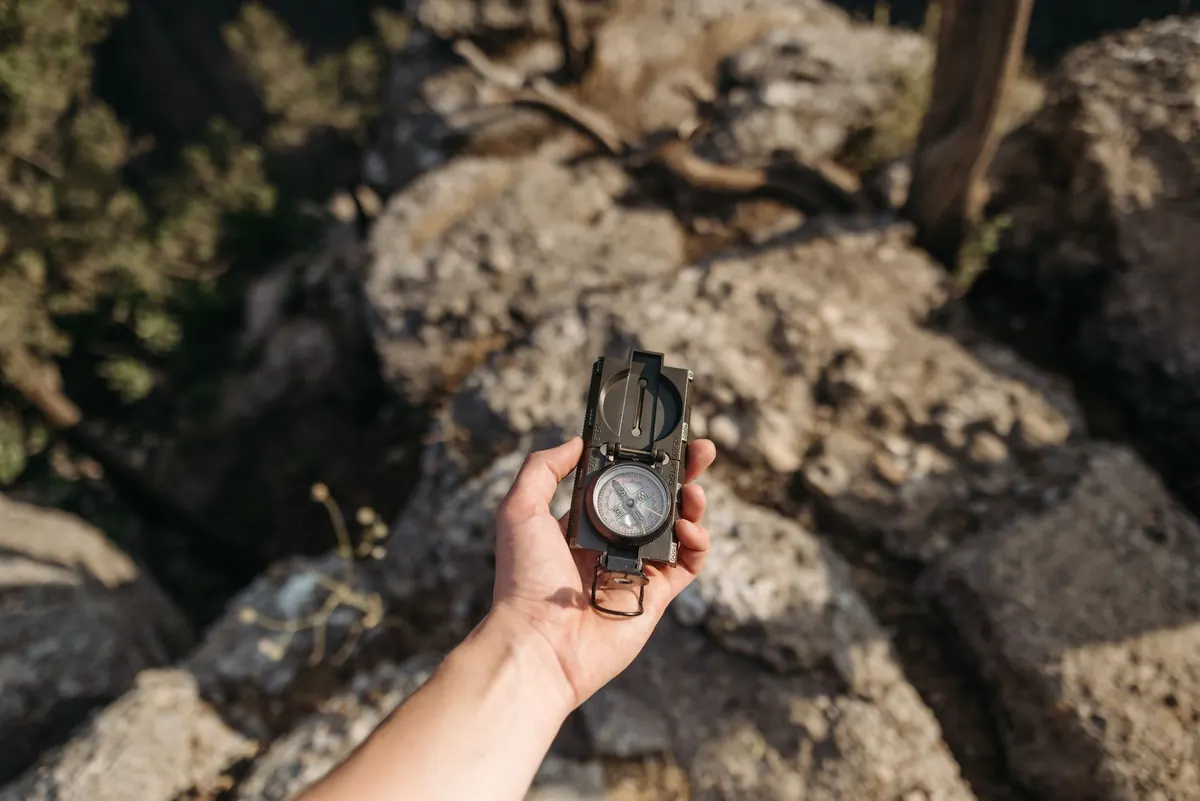
Your phone dies four miles from the trailhead. The trail sign is gone, the clouds have dropped, and the last person you saw was an hour ago. None of that has to become a problem. A paper map and a baseplate compass weigh almost nothing, work in the rain, and never ask for a charge. The catch is that you have to know how to use them before the moment you need them. Here is the whole skill, in the order you will actually use it.
An oriented map is one where the paper's north lines point the same direction as real north, and where the ridgeline in front of you sits on the paper in front of your thumb. Do this first, every time, and half of your confusion disappears.
If you can see recognizable terrain, orient by inspection: hold the map flat, rotate it until two or three features line up with what you see. A summit ahead and a lake to your left on the ground should sit ahead and to the left on the paper.
If you can't see anything useful, use the compass. Lay it on the map with one long edge along a north-south grid line, then turn the whole map and compass together until the red needle sits inside the orienting arrow and the N on the bezel points at map north. If your compass has declination set, that's the true orientation. If not, you'll be off by the declination angle, which is fine for rough orientation but not for bearings.
Grid north, true north, and magnetic north are three different directions, and the gap between true north and magnetic north is called declination. It changes depending on where you are. Your map prints it in the margin, usually as a diagram with a nearby date and annual change.
The classic conversion, when going from a bearing measured on the map to a bearing you'll walk with the compass, is: east declination, subtract; west declination, add. East is least, west is best. A map bearing of 90 degrees with 15 degrees east declination becomes a compass bearing of 75 degrees.
Better than doing arithmetic in the wind: buy a compass with an adjustable declination setting. Set it once for your region, lock it, and every bearing you read off the map is already magnetic. Just remember to reset it when you travel somewhere far away.
This is the core move. You want to go from where you are to a specific point, and you want a number.
Never walk with your eyes on the needle. The needle points north no matter where you stand; the direction-of-travel arrow is the one that matters, and it only matters if you lift your head and find something real to aim at.
A bearing tells you a direction, not a distance. For distance, count paces. Measure yours once on a track: walk 100 meters at your normal stride, counting every two steps as one pace. Whatever number you get is yours, and it will change uphill, in deep snow, or on talus. Use it as an estimate, not a survey.
Three habits make a bearing walk far more reliable:
When you're genuinely unsure of your position, take a bearing on a landmark you can also identify on the map, a summit, a distinctive lake, a bend in a river. Convert that magnetic bearing back to a map bearing, then reverse it by adding or subtracting 180 degrees. That reversed bearing is the direction from the landmark to you. Draw it through the landmark on the map. You are somewhere on that line.
Do it with a second landmark. Where the two lines cross is roughly your position. A third line, if your landmarks are well spread out, either confirms it or shows you which one you misidentified.
Contour lines tell you shape, and shape is what you actually see around you. Read the contour interval from the map margin, then look at the spacing: tight contours mean steep ground, wide spacing means gentle. Elevation numbers printed along index contours let you sanity-check whether that hill ahead is the one you think it is.
Two patterns are worth memorizing. Where a contour crosses a stream, it bends into a V whose point aims upstream, which tells you the drainage runs that way. Where contours bulge outward in a rounded nose, that's a spur or ridge coming off the high ground. Sit down, look at the terrain in front of you, and identify three features that appear on paper. If you can't reconcile them, you're not where you think you are, and that's useful information.
Skills like these fall apart under pressure unless they've been rehearsed in calm conditions. On your next easy hike, do three things. Pick a point off-trail 200 meters away, take a bearing, and walk to it. Count your paces on a measured stretch so you have a working number. And from a spot you already know, run one bearing to a landmark and see whether the line lands where it should on the map.
Do that a few times in good weather and a dead battery stops being a crisis. It becomes just a quiet afternoon with a map in your hand and the ground where it belongs.
Photo: Pavel Danilyuk / Pexels
A guiding light for outdoor adventures..
Copyright © 2026 Briar Beacon. All rights reserved. Briar Beacon.