October 06, 2026


The trailhead at 7 a.m. in late October has a way of making you overdress. You step out of the car, cold air hits your face, and you pull on everything you brought. Twenty minutes later you're climbing a switchback with sweat running down your back and your jacket half unzipped, wondering how you got it so wrong so fast. The problem isn't your gear. It's that you dressed for standing still when you were about to start moving. Layering for a cold morning hike is less about owning the perfect jacket and more about building a system you can change one piece at a time.
The single most useful habit is to leave the trailhead slightly chilly. If you're warm and comfortable in the parking lot, you'll be overheating within a mile. Your body throws off a lot of heat once you're moving — usually more than your clothing can shed.
That matters because sweat is the real enemy on a cold morning. A wet base layer pulls heat away from your skin, and it keeps pulling heat away every time you slow down, stop for a snack, or turn downhill. Staying dry keeps you warmer than any single piece of insulation ever will.
So dress for the second mile, not the first minute. Expect to feel cool for five or ten minutes. If you're still cold after fifteen minutes of steady climbing, that's your signal to add a layer — not to start sweating in the one you have on.
The base layer has one job: move moisture off your skin and into the layers above. Merino wool and synthetics like polyester do this well. Cotton does the opposite. A cotton t-shirt soaks up sweat and holds it against you, which is why it stays home on a cold hike.
Fit matters as much as fabric. The base layer should sit close to your skin without restricting movement. A thin, snug fit lets the fabric actually touch your skin and wick; a loose shirt just traps air and moisture in the same place.
What to reach for:
Socks count as base layer too. Wool or synthetic blends, a snug fit with no folds, and a thickness that matches your boots. A thick sock crammed into a tight boot doesn't add warmth — it restricts circulation and makes your feet colder.
If the base layer manages moisture, the mid layer manages warmth. Think of it as a dial you can turn up or down as the terrain changes.
Grid fleece — the kind with a waffle texture on the inside — is the workhorse for hiking. The texture traps warmth while still letting a lot of vapor escape, so you can climb in it without soaking the layer beneath. A standard fleece is warmer and less breathable. A thin wind-resistant fleece sits nicely in between for exposed ridgelines.
A lightweight puffy jacket is not really a hiking layer. It's a stop-and-stand layer. It doesn't breathe much, so if you climb in it you'll get damp from the inside. Keep it in your pack and pull it on at breaks, at lunch, and on long descents. If it's cold enough that you want insulation while moving, a light synthetic puffy over a grid fleece can work on a slow, flat approach — but be ready to unzip or shed it the moment the trail tilts upward.
The outer layer is a shell, not insulation. Its job is to block wind and precipitation while letting as much moisture out as possible.
A softshell is the right call for a dry, cold, windy morning. It breathes well, cuts wind, and shrugs off light snow or a brief shower. A hardshell is what you want when rain or wet snow is in the forecast. Either way, look for:
Skip the heavy, rubbery rain jacket at the back of the closet. It keeps rain out and keeps every drop of sweat in, and you finish the hike just as wet as if you'd worn nothing.
Treat these as starting points, then adjust for how you actually run. Some people hike in shorts in January; others want a puffy at 45 degrees.
The skill on the trail is making small changes before you're uncomfortable, rather than big ones after you're soaked or shivering.
When you start to feel warm, work through it in this order:
When you stop, reverse it fast. Any break longer than a few minutes, especially in wind, means the puffy comes out. You cool down quickly once you stop moving, and it's far easier to stay warm than to warm back up. If you have a condition that affects circulation or how your body handles cold, check with a doctor about what's sensible for you before heading out.
Every body runs a little differently, and no chart knows yours. Do a three-mile loop on a cold morning and pay attention: when did you unzip, what did you take off first, what did you wish you'd brought? Two or three outings like that and you'll know your own numbers better than any packing list can tell you.
Then pack in the order you'll need things. Base layer and mid layer on your body, puffy on top of the pack, shell where you can grab it without taking the pack off, hat and gloves in a hipbelt pocket. On longer hikes, a dry base layer in a stuff sack is worth its weight — changing shirts at lunch on a chilly day is one of the small luxuries that makes the second half of a hike feel much better than the first.
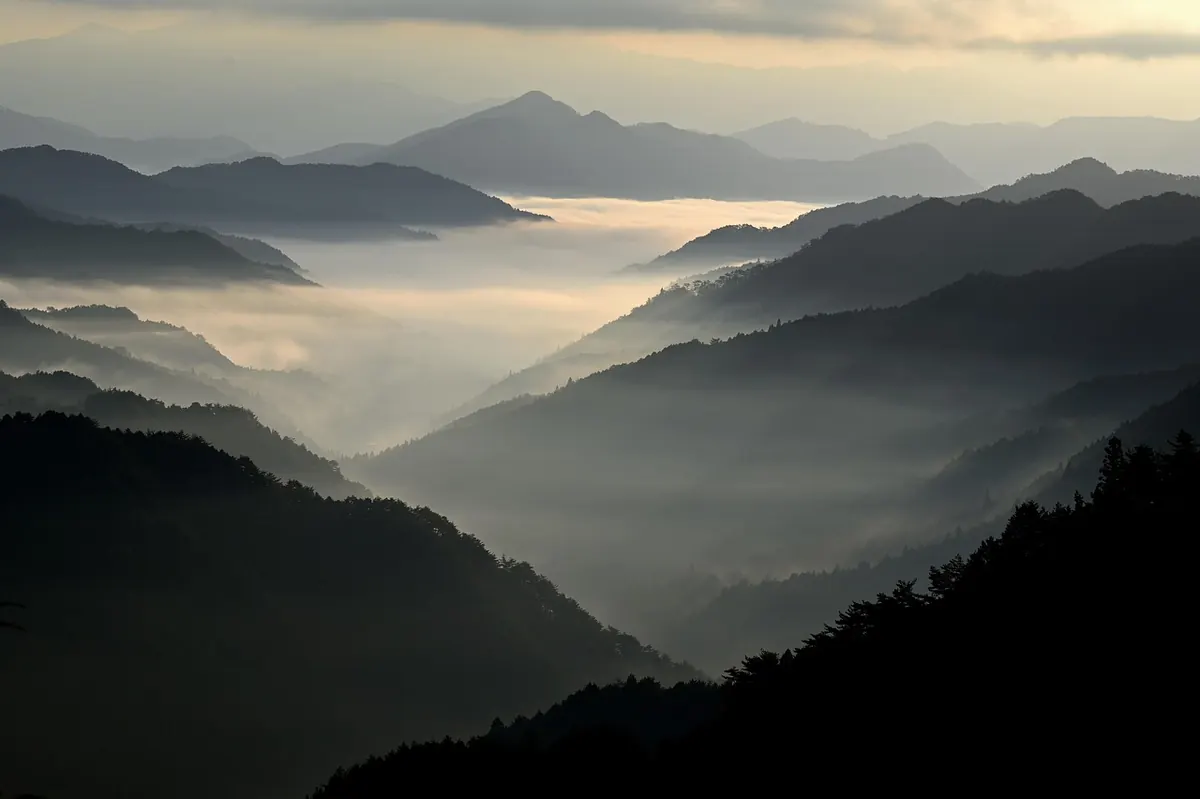
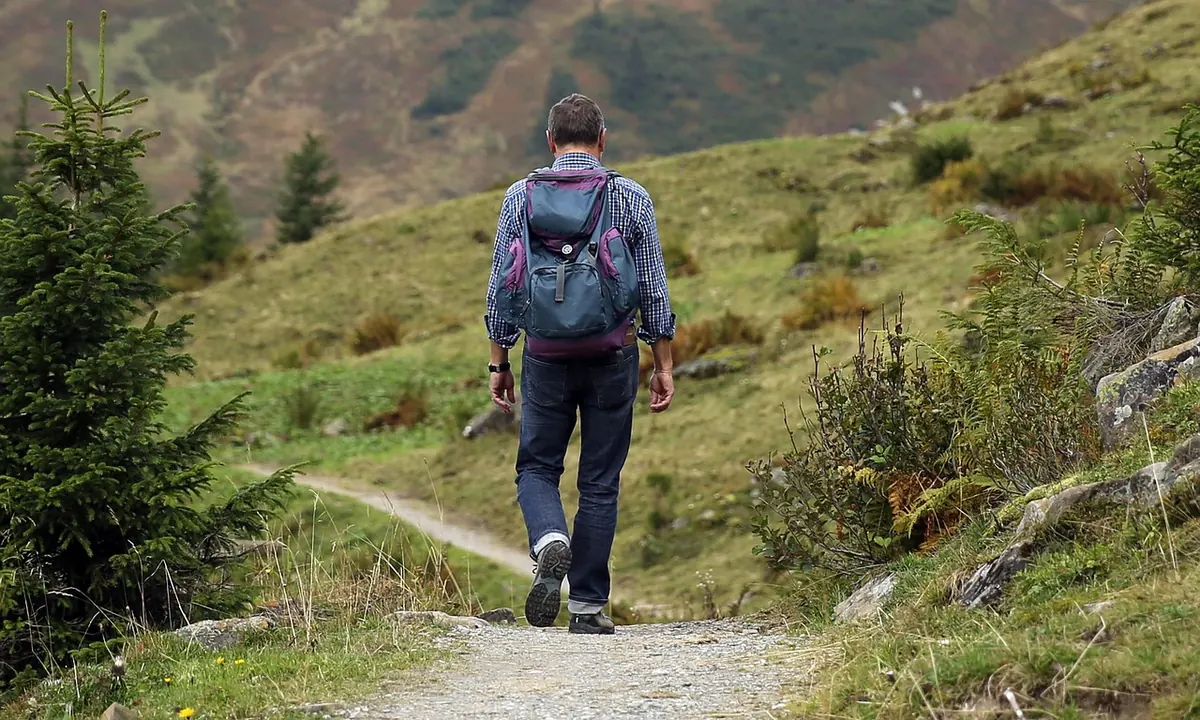
Photo: yamabon / Pixabay
A guiding light for outdoor adventures..
Copyright © 2026 Briar Beacon. All rights reserved. Briar Beacon.